Keyboard Builders' Digest / Projects
Black Ice ortho
Custom designed angled ortho by ashinything with 3D printed hot swap sockets.

Published August 25, 2021
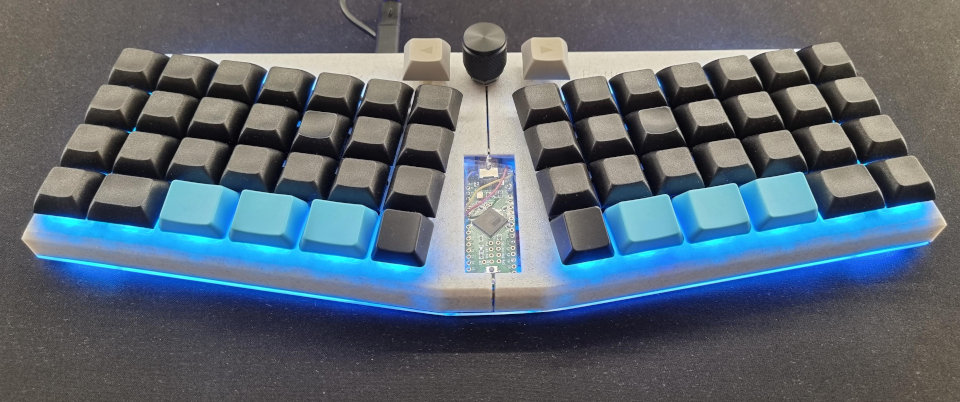
This nice handwired project features a Teensy 2.0++ and makes use of stingray127's 3D printed hotswap sockets that don't require any soldering to connect all the switches.
It made for a really aesthetically pleasing finish. Although the switch connections are sometimes troublesome to set up – ashinything.
The files are now on Thingiverse.
The keyboard is printed in two halves which are symmetrical so you can mirror the included .STL in your slicer to print the other side.
There are two 3 mm holes on the sides, you'll need something (like a nail or 3D printed part) to create a friction fit between the two halves to stop them rotating.
The base will solidify the two halves together, I used acrylic which I cut to size with a hack saw and drilled some holes which line up with the eight holes of the keyboard. The acrylic is secured to the two 3D printed parts using some heat set inserts and M3 screws. I designed the holes so you could screw straight into the 3D part but I'd strongly recommend getting inserts because taking the base on and off repeatedly will eventually destroy the threads of the 3D printed part. If you insist on not using heat set inserts at least start with shorter length screws and work your way up to longer ones as the thread weakens.
To add some tilt you can put a couple nuts on the rear screws. The author had to add some small washers to the front left and right screws to stop it wobbling.
Published on Wed 25th Aug 2021. Featured in KBD #41 (source).
Related

Fusion
Fusion is u/steven4012's foldable travel board – with all the source files.
SpUnLy58
Giraffasax made an unsplit and splayed Lily58: the SpUnLy58. The files are available on github.
KaSe keyboard
An Atreus-inspired monoblock keyboard by Mae Pugin: the wireless KaSe with OLED.
LoremIpsum36
The unibody split LoremIpsum36 is a no-frills Gateron LP keyboard by Penk Chen.